
Marble cake
recipe source: sally's baking addiction
2 cups (230g) cake flour
2 teaspoons baking powder
1/2 teaspoon salt
1 cup (230g; 2 sticks) unsalted butter, softened to room temperature
3/4 cup (150g) granulated sugar
1/2 cup (100g) tightly packed light brown sugar
2 large eggs, at room temperature
4 large egg yolks, at room temperature
1 tablespoon (15ml) pure vanilla extract
2/3 cup (160ml) buttermilk, at room temperature
4 ounces (113g) bittersweet or semi-sweet chocolate, coarsely chopped
Preheat oven to 350°F (177°C). Spray or lightly butter two 8-inch cake pans. Set aside.
Sift the cake flour, baking powder, and salt together in a large bowl. Set aside.
With a handheld or stand mixer fitted with a paddle attachment, beat the butter on high speed in a large bowl until smooth and creamy, about 1 minute. Add the granulated and brown sugars and beat on high speed for 3-4 minutes until creamed. Scrape down the sides and up the bottom of the bowl as needed. With the mixer running on low speed, add the eggs then the egg yolks one at a time, then add the vanilla extract. Beat on medium-high speed until combined. Scrape down the sides and up the bottom of the bowl as needed. With the mixer running on low speed, add the dry ingredients in 3 additions, alternating with the buttermilk and mixing each addition just until incorporated. Do not overmix. Use a whisk to rid any large lumps, if needed. The batter will be slightly thick.
Remove 1 cup of yellow batter and pour into a medium bowl. Melt 4 ounces of chocolate in the microwave, stopping and stirring every 20 seconds until completely smooth. Pour chocolate into the 1 cup of yellow batter you set aside and stir until combined.
Pour an even layer of the yellow batter into each cake pan. Drop dollops of chocolate batter on top. Pour remaining yellow batter on top of the chocolate. Using a knife, swirl the two batters together. Don't worry if it's not perfect.
Bake the layers for 27-32 minutes, or until a toothpick inserted into the center of one cake comes out clean. During bake time, loosely cover the cakes with aluminum foil if you find the tops are browning too quickly. Remove cakes from the oven and allow to cool completely in the pans set on a wire rack.
Chocolate chip cookie dough frosting
recipe source: Annie's eats
1 c + 2 Tbsp (250g) butter, room temp
2/3 c light brown sugar, packed
2 1/2 c (315g) confectioners’ sugar, sifted
2/3 c (85g) flour
1/2 tsp salt
2 tbsp milk
2 tsp vanilla extract
1 c (200g) mini chocolate chips or finely chopped pieces of milk chocolate
Beat together the butter and brown sugar on high until lightened. Add the icing sugar and mix until smooth. Blend in the flour and salt, then add the milk and vanilla, mixing to smooth. Fold in the chocolate chips.
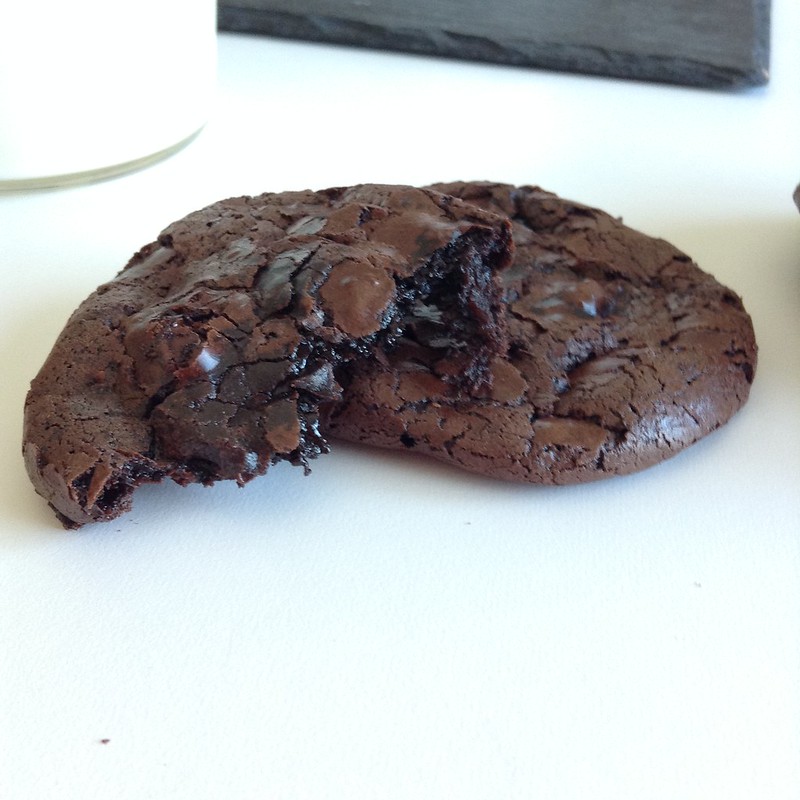
Classic brownie
recipe source: Baked: New frontiers in baking
1¼ cups all-purpose flour
1 teaspoon salt
2 tablespoons unsweetened cocoa powder
11 oz dark chocolate, chopped
1 cup butter
1 teaspoon instant espresso powder
1½ cups sugar
½ cup packed brown sugar
5 eggs, at room temperature
2 teaspoons vanilla extract
Preheat the oven to 350ºf and line a 9x13-inch baking pan with parchment paper.
In a small bowl, combine the flour, salt, and cocoa powder.
Put the chocolate, butter and instant espresso powder in a large bowl set over a pot of simmering water. Heat the mixture, stirring occasionally, until everything is completely melted and combined. Turn off the heat and add both sugars. Mix until everything is combined and let cool to room temperature.
Add 3 of the eggs to the chocolate mixture and mix until combined. Add the other 2 eggs and the vanilla and mix until everything is just combined.
Add the flour mixture to the chocolate mixture. Using a spatula fold in the flour until it is just barely combined (if a few clumps of flour are still visible, that's okay).
Pour the batter into the prepared pan and bake in the oven for about 30 minutes, until a toothpick inserted in the center comes out with just a few crumbs sticking to it. Let the brownies cool completely in the pan before cutting them into squares.